
Discover technical tips for shooting real estate videos that ensure smooth editing, consistent color, and stunning property presentations.
1. Use Proper Equipment
Choosing the right gear is the foundation. Even a mid‑range camera with good stabilization can outperform a phone with shaky hands.
- Camera: Use a mirrorless or DSLR camera with clean HDMI output if possible. If using a smartphone, pick one with good manual control over exposure and white balance.
- Lens: A wide‑angle lens (but not ultra fisheye) helps capture whole rooms. For interiors, use something like 16‑35mm (full frame) or equivalent. Too wide causes distortion; too narrow makes spaces feel small.
- Stabilization: Use a gimbal or stabilizer for walkthroughs. For static shots or closeups, use a tripod. Stabilization reduces motion blur and shakiness, both of which are very hard to fix.
- Lighting equipment: LED panels or softbox lights help balance dark corners. Having adjustable color temperature lights is best so you can match ambient light. Portable lights are useful.
- Filters: If shooting exteriors or bright daylight through windows, consider using ND (neutral density) filters to avoid overexposure. Polarizing filters can reduce glare on windows or surfaces.
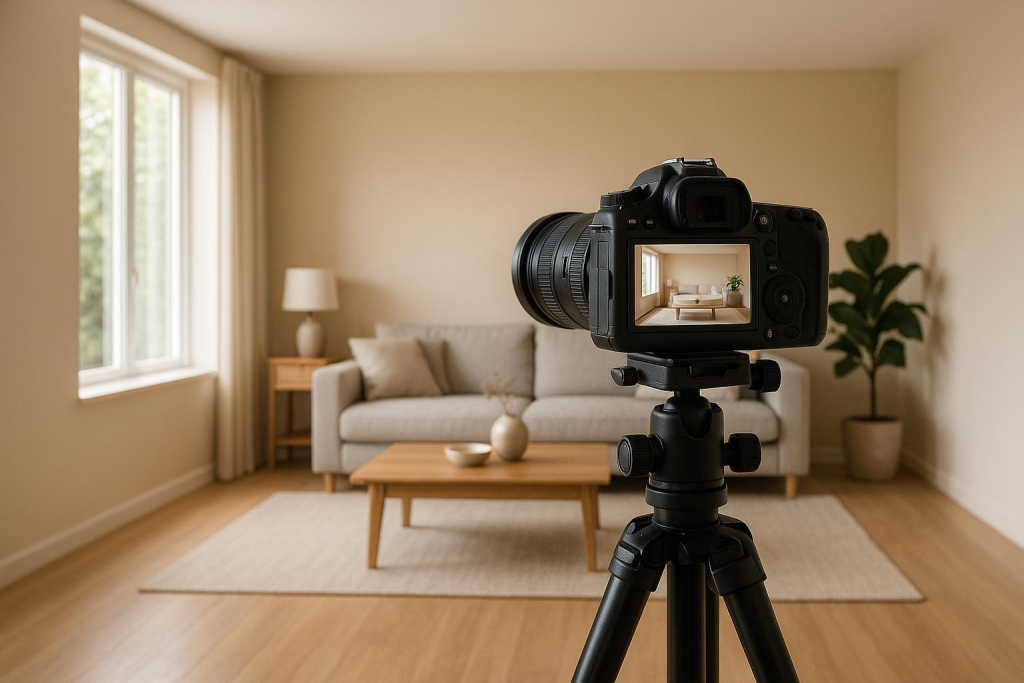
2. Frame Rate, Resolution, and Camera Settings
Consistent camera settings across shots ensure smoother editing and better color matching.
- Resolution: Shoot in 4K if possible. Having more pixels provides flexibility when cropping or stabilizing. If 4K is not possible, shoot in the highest usable resolution.
- Frame Rate: Use 24 fps or 30 fps consistently. If you plan slow motion, record at 60 fps or higher, but only for those specific shots. Mixing frame rates can make editing difficult.
- Shutter Speed: Typically set at double the frame rate (for 30 fps, use ~1/60s). This gives natural motion rendering.
- White Balance: Set white balance manually, and keep it fixed for all shots in a sequence or room. Avoid auto white balance which may shift color between shots.
- Picture Profile: Choose flat, neutral, or log profile if your camera supports it. These preserve highlights and shadows better, and give more control in color grading.
- ISO and Aperture: Keep ISO as low as possible to avoid noise; increase lighting rather than ISO. Use wider aperture indoors to allow light in, but not so wide that depth of field becomes distracting.
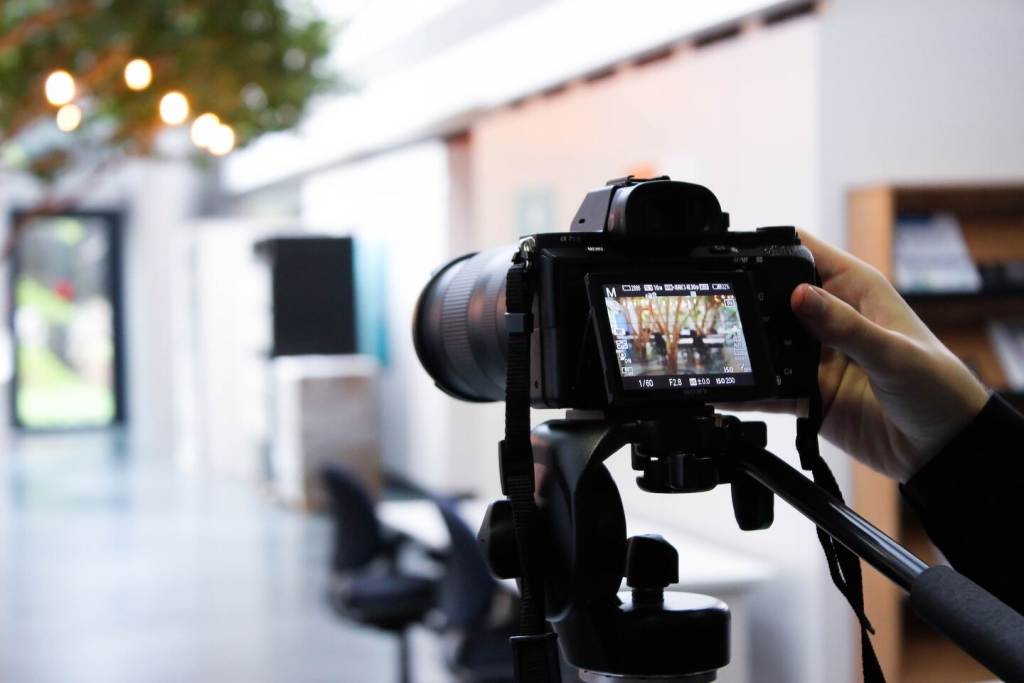
3. Angles, Composition, and Shot Variety
Good composition helps give editors options and makes the final video visually strong.
- Consistency of camera height: Keep camera height roughly at human eye level (about 1.4‑1.6 m). This helps different shots feel unified. If doing day‑to‑night transition, mark the tripod/gimbal height exactly.
- Fixed angles for transitions: If you plan a day‑to‑night transition, shoot the same angle twice: once in daylight (with natural light) and once at night (with interior/exterior lights on). Use a tripod and mark position so angles match perfectly.
- Wide shots and detail shots: Capture wide room shots to show layout and space. Also record close‑ups of materials, fixtures, textures, and architectural details. Editors use detail shots for cutaways and making the video more engaging.
- Slow smooth movement: Pans, tilts, push‑ins. Avoid fast movements. Walk slowly, move camera smoothly. Sudden movements create motion blur and are harder to stabilize in post.
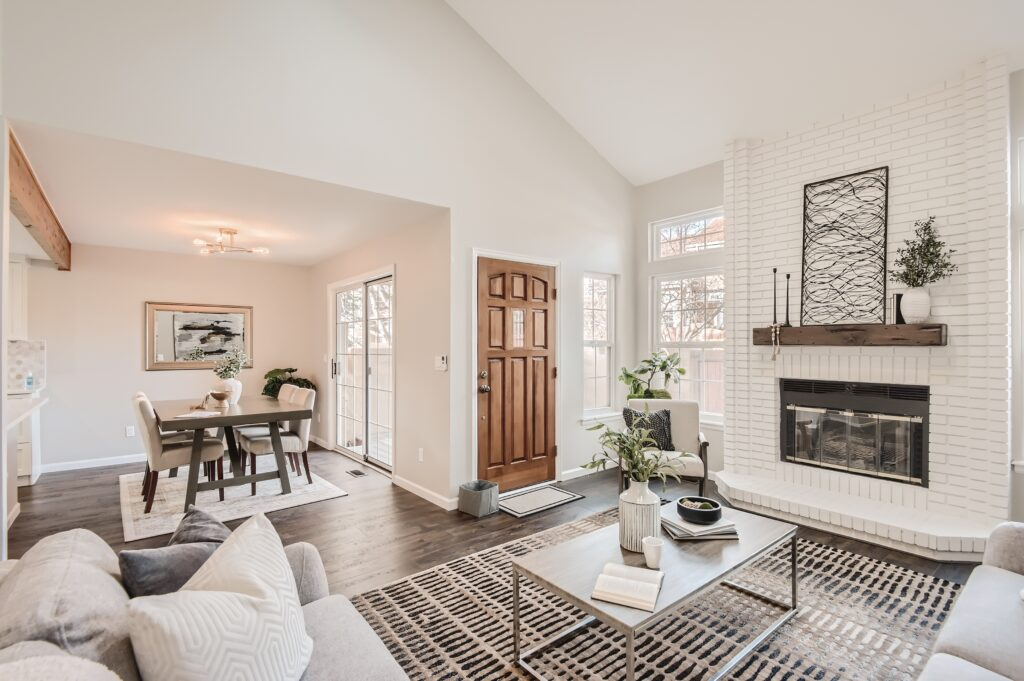
4. Color Consistency and Day‑to‑Night Transitions
Matching color and exposure is key to seamless editing.
- Use Gray Card or Color Checker Chart: At the start of each shooting session (or each room), include a shot of a gray card or color checker chart under the lighting you will use. This helps editors correct white balance and color matching across different footage.
- Avoid mixing lighting types: If natural daylight is strong, try to minimize tungsten or fluorescent lighting unless you can match color temperature. Mixed lighting causes color shifts and complicates grading.
- Fixed white balance and color profile: Do not switch white balance or picture profile mid‑shoot. This helps all your footage look consistent in post.
- Day‑to‑Night Transition Shooting: For dramatic transitions, film the same shot in two conditions: day and night. Use the same framing, the same camera settings except exposure as needed, and keep lighting elements you can control consistent. Do not move furniture or change lighting fixtures. Editor can blend these shots for powerful effects.
- Exposure consistency: When moving from a dark hallway into a bright room or vice versa, pause and adjust exposure rather than letting camera auto‑adjust. Try to keep exposure levels stable across shots to avoid flicker or drastic change.
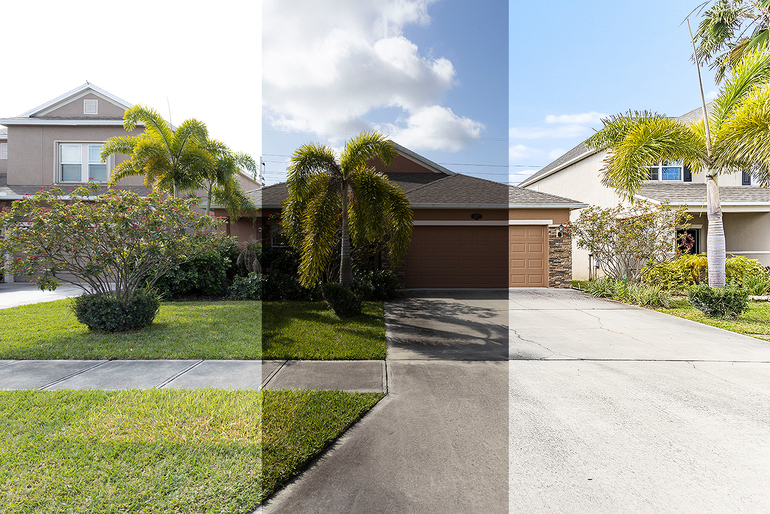
(Image source: PhotoUp)
5. Delivering Good Source Files to the Editor
How you deliver your footage matters as much as how you shoot it.
- File format: Use high quality formats (e.g., ProRes, high bitrate MP4). Avoid compressed exports or phone app compression.
- Organize footage: Label folders and clips by location (e.g., “Living room wide”, “Kitchen detail”, “Bedroom night shot”). Indicate which clips are day, which are night, which are for transition.
- Metadata or notes: If you did day‑to‑night transitions, note that. If using color checkers or gray cards, mark which clips include them.
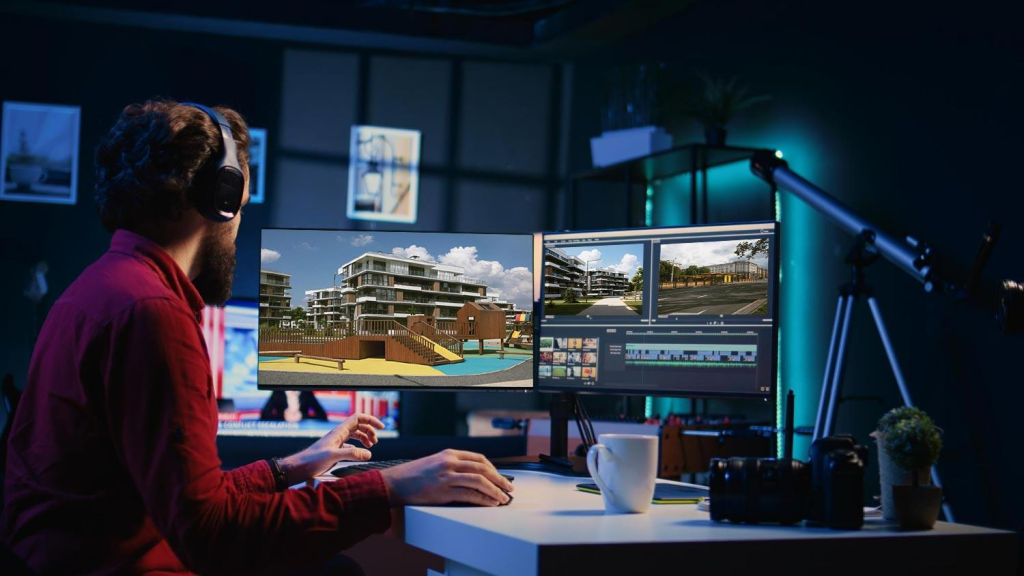
(Image source: Noupe)
Of course, no matter how carefully you prepare, unexpected issues during filming can still happen. Shaky footage, uneven lighting, or inconsistent colors are more common than you might think. But don’t worry, that’s exactly where Lumatrix Media comes in.
With years of experience in real estate video editing, our team knows how to turn raw, imperfect footage into polished, professional property videos. We’ve worked with clients from all over the world, helping them elevate their listings through smart editing, clean color grading, and creative storytelling.
Let Lumatrix Media be the post-production partner your real estate content deserves.
Our blog
Lastest blog posts
Tool and strategies modern teams need to help their companies grow.
Realtors Should Have a Repeatable Listing Marketing Process
Learn why realtors need a repeatable listing marketing process to save time, maintain quality, reduce [...]
Reducing the Price Does Not Always Solve a Listing Problem
Learn why reducing the price of a home does not always lead to more offers [...]
Why Realtors Need Different Marketing Strategies for Different Price Ranges
Learn why real estate marketing strategies should change across different price ranges, from buyer expectations [...]
Why You Should Shoot More Real Estate Footage When Filming a Property
Learn why filming more real estate footage during a property shoot gives editors more options, [...]
Why Filming for Social Media Is Different From Filming a Property Tour
Learn how filming for social media differs from a traditional property tour, including framing, pacing, [...]
Why Music Choice Can Change How Buyers Perceive a Property
Discover how music choice can influence the way buyers perceive a property, from mood and [...]
Why Small Rooms Need Different Camera Techniques
Learn why small rooms require different camera techniques in real estate photography and video, from [...]
Why Some Real Estate Footage Looks Good but Edits Badly
Learn why some real estate footage looks great on its own but becomes difficult to [...]