
Learn how to plan a real estate video shoot step by step, from scripting and videography planning to professional real estate video editing for a polished final result.
Introduction
A successful real estate video rarely happens by accident. While great cameras and smooth camera movements are important, the real difference often lies in preparation. Without a clear plan, even high-quality footage can turn into a confusing or ineffective video.
Planning a real estate video shoot helps agents and videographers capture the right shots, maintain a logical flow, and create a final video that communicates the property clearly. From early ideas and shot planning to real estate video editing, each step contributes to how buyers perceive the property online.
Understanding the full process from script to final cut can make real estate videography far more efficient and effective.
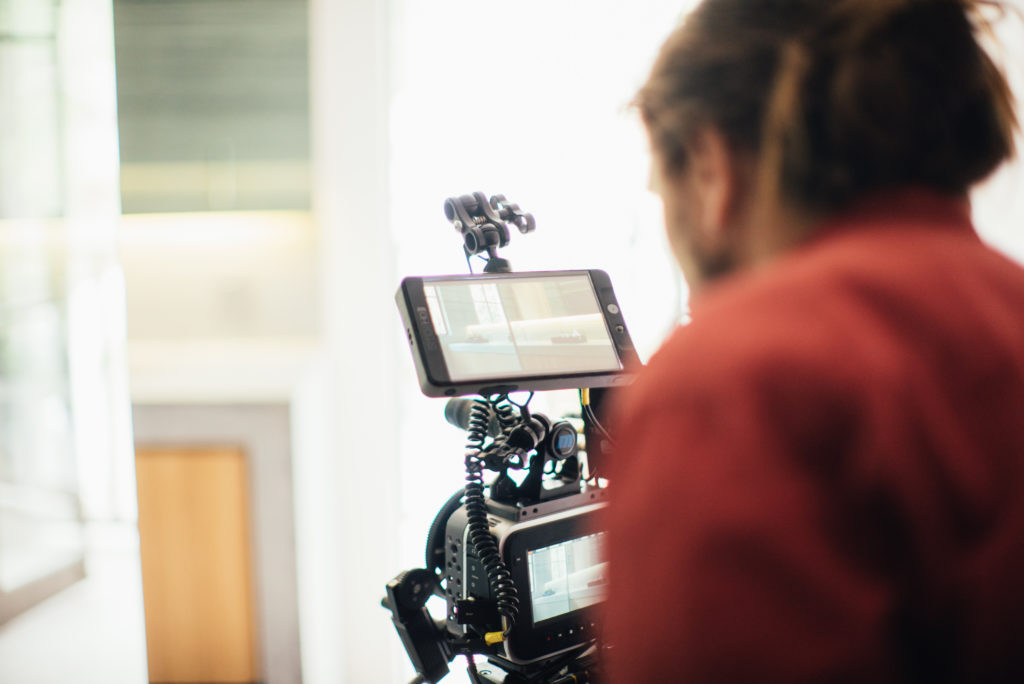
Step 1: Define the Goal of the Real Estate Video
Before filming begins, it is important to clarify the purpose of the video. Not all real estate videos are created for the same objective.
Some videos are designed to highlight a specific listing. Others focus on building the personal brand of the agent or attracting potential sellers.
Defining the goal early helps guide decisions such as:
- The tone of the video
- The length of the final edit
- The type of shots needed
- Whether the agent should appear on camera
For example, a listing video usually focuses on the property itself, while a branding video may include introductions or narration from the agent. Clear goals ensure that videography and editing decisions align with the marketing strategy.
Step 2: Create a Simple Video Outline or Script
A real estate video does not need a complex script, but having a basic outline is extremely helpful.
Planning the order of scenes ensures that the property is presented logically and smoothly. Viewers should be able to understand how the home flows from one space to another.
A typical structure might include:
- Exterior establishing shots
- Entryway or front door approach
- Main living areas
- Kitchen and dining spaces
- Bedrooms and bathrooms
- Outdoor areas and amenities
This outline allows videographers to capture footage with a clear editing sequence in mind. When the footage is organized during filming, the real estate video editing process becomes significantly easier.
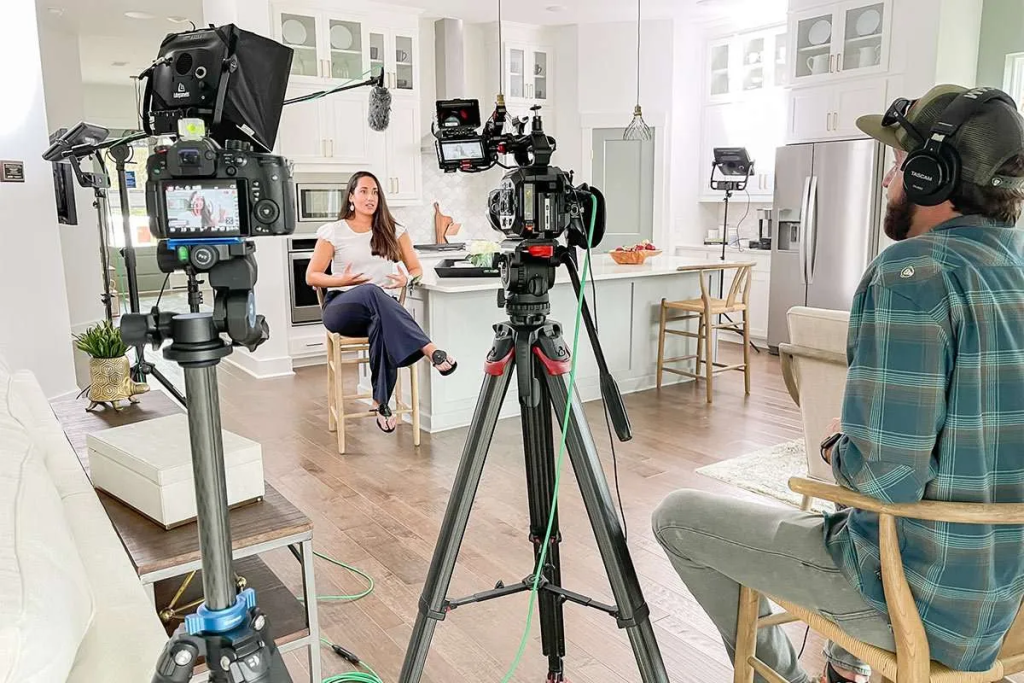
Step 3: Prepare the Property Before Filming
Even the best real estate videography cannot fully compensate for a poorly prepared property. Small visual distractions can reduce the overall impact of a video.
Before filming begins, it is important to:
- Remove clutter and personal items
- Turn on interior lights
- Open curtains or blinds for natural light
- Arrange furniture neatly
- Check reflections in mirrors or windows
These details may seem minor, but they influence how clean and inviting the property appears on camera.
Many experienced agents treat property preparation as a key part of the video production process.

Step 4: Plan Camera Movement and Shot Types
Real estate videos rely heavily on smooth camera movement. Static shots can work in certain situations, but most modern real estate videography uses slow motion to guide viewers through the property.
Planning the types of shots ahead of time helps create a more immersive video.
Common shot types include:
- Slow forward movements through hallways
- Wide-angle shots of living areas
- Kitchen detail shots
- Smooth panning views of outdoor spaces
These movements help viewers experience the home more naturally, almost as if they are walking through the property themselves.
Capturing multiple angles for important rooms also gives editors more flexibility later during real estate video editing.
Step 5: Capture More Footage Than You Think You Need
One of the most common mistakes during a real estate video shoot is capturing too little footage.
Editors often need additional angles or longer shots to create smooth transitions. If the footage is limited, editing options become restricted.
Recording extra shots of key areas ensures the final video can maintain a comfortable pace without repeating identical visuals too often.
This extra material becomes especially useful during the editing stage when the video structure begins to take shape.
Step 6: Organize Footage Before Editing
Once filming is complete, organizing footage is an important step before editing begins.
Clips should be grouped based on location or room type. For example:
- Exterior shots
- Living spaces
- Bedrooms
- Outdoor areas
This organization helps editors quickly locate the right clips and build a clear narrative structure.
A well-organized workflow can dramatically speed up the real estate video editing process and reduce confusion later on.
Step 7: Shape the Story During Real Estate Video Editing
Editing is where the real estate video truly comes together. Raw footage is transformed into a coherent visual tour that highlights the property’s best features.
Professional real estate video editing usually includes:
- Selecting the best shots from the footage
- Arranging clips to match the layout of the home
- Adjusting color and lighting for consistency
- Adding music to guide the pacing
- Ensuring transitions feel smooth and natural
The goal is not simply to make the video look cinematic. Instead, the final edit should clearly communicate the space and help potential buyers imagine living in the property.
A well-edited real estate video feels natural and easy to follow.
Step 8: Review the Video Before Publishing
Before publishing the final video, it is important to review the entire sequence carefully.
Agents and videographers should check whether:
- The property layout is easy to understand
- Important rooms receive enough screen time
- The pacing feels comfortable
- Lighting and colors appear natural
Small adjustments at this stage can improve the final result significantly.
Taking a few extra minutes to review the video ensures the listing is presented in the best possible way.
Working with Professional Real Estate Video Editors
While filming is an important step, the editing stage often determines whether a real estate video feels professional or unfinished.
Experienced editors understand pacing, color balance, and how to structure footage so that viewers can easily follow the layout of the home.
Lumatrix Media provides real estate video editing services for agents and videographers around the world. Our editors have years of experience transforming raw footage into clean, engaging real estate videos that highlight property features effectively.
If you already have footage and want to turn it into a polished final video, you can explore our samples and contact Lumatrix Media to discuss a potential collaboration.

Looking for more tips on filming and editing real estate videos? Check out our other blog posts.
Using Motion Graphics and Text to Highlight Key Property Features
5 Cinematic Techniques to Make Any Property Look Luxurious
Using Silence and Natural Sound in Real Estate Videos
- Facebook: Lumatrix Media
- Instagram: lumatrix.media
- Website: https://lumatrixmedia.com/
- Email: lumatrix.media@gmail.com
Our blog
Lastest blog posts
Tool and strategies modern teams need to help their companies grow.
Realtors Should Have a Repeatable Listing Marketing Process
Learn why realtors need a repeatable listing marketing process to save time, maintain quality, reduce [...]
Reducing the Price Does Not Always Solve a Listing Problem
Learn why reducing the price of a home does not always lead to more offers [...]
Why Realtors Need Different Marketing Strategies for Different Price Ranges
Learn why real estate marketing strategies should change across different price ranges, from buyer expectations [...]
Why You Should Shoot More Real Estate Footage When Filming a Property
Learn why filming more real estate footage during a property shoot gives editors more options, [...]
Why Filming for Social Media Is Different From Filming a Property Tour
Learn how filming for social media differs from a traditional property tour, including framing, pacing, [...]
Why Music Choice Can Change How Buyers Perceive a Property
Discover how music choice can influence the way buyers perceive a property, from mood and [...]
Why Small Rooms Need Different Camera Techniques
Learn why small rooms require different camera techniques in real estate photography and video, from [...]
Why Some Real Estate Footage Looks Good but Edits Badly
Learn why some real estate footage looks great on its own but becomes difficult to [...]